Chapter 5 Fundamental development workflows
Having peeked under the hood of R packages and libraries in Chapter 4, here we provide the basic workflows for creating a package and moving it through the different states that come up during development.
5.1 Create a package
5.1.1 Survey the existing landscape
Many packages are born out of one person’s frustration at some common task that should be easier. How should you decide whether something is package-worthy? There’s no definitive answer, but it’s helpful to appreciate at least two types of payoff:
- Product: your life will be better when this functionality is implemented formally, in a package.
- Process: greater mastery of R will make you more effective in your work.
If all you care about is the existence of a product, then your main goal is to navigate the space of existing packages. Silge, Nash, and Graves organized a survey and sessions around this at useR! 2017 and their write up for the R Journal (Silge, Nash, and Graves 2018) provides a comprehensive roundup of resources.
If you are looking for ways to increase your R mastery, you should still educate yourself about the landscape. But there are plenty of good reasons to make your own package, even if there is relevant prior work. The way experts got that way is by actually building things, often very basic things, and you deserve the same chance to learn by tinkering. If you’re only allowed to work on things that have never been touched, you’re likely looking at problems that are either very obscure or very difficult.
Finally, it’s also valid to evaluate the suitability of existing tools on the basis of user interface, defaults, and edge case behaviour. If a package can technically do what you need, but it’s very unergonomic for your use case, it’s fair to say it doesn’t meet your needs. In this case, it can still make sense for you to develop your own implementation or to write wrapper functions that hide the sharp edges.
5.1.2 Name your package
“There are only two hard things in Computer Science: cache invalidation and naming things.”
— Phil Karlton
Before you can create your package, you need to come up with a name for it. This can be the hardest part of creating a package! (Not least because no one can automate it for you.)
5.1.2.1 Formal requirements
There are three formal requirements:
- The name can only consist of letters, numbers, and periods, i.e.,
.. - It must start with a letter.
- It cannot end with a period.
Unfortunately, this means you can’t use either hyphens or underscores, i.e., - or _, in your package name. We recommend against using periods in package names, due to confusing associations with file extensions and S3 methods.
5.1.2.2 Pragmatic advice
If you plan to share your package with others, it’s worth spending a few minutes to come up with a good name. Here are some things to consider:
Pick a unique name that’s easy to Google. This makes it easy for potential users to find your package (and associated resources) and for you to see who’s using it.
Don’t pick a name that’s already in use on CRAN or Bioconductor. You may also want to consider some other types of name collision:
- Is there an in-development package maturing on, say, GitHub that already has some history and seems to be heading towards release?
- Is this name already used for another piece of software or for a library or framework in, e.g., the Python or JavaScript ecosystem?
Avoid using both upper and lower case letters: doing so makes the package name hard to type and even harder to remember. For example, it’s hard to remember if it’s Rgtk2 or RGTK2 or RGtk2.
Give preference to names that are pronounceable, so people are comfortable talking about your package and have a way to hear it inside their head.
Find a word that evokes the problem and modify it so that it’s unique:
- lubridate makes dates and times easier.
- rvest “harvests” the content from web pages.
- r2d3 provides utilities for working with D3 visualisations.
- forcats is an anagram of factors, which we use for categorical data.
Use abbreviations:
- Rcpp = R + C++ (plus plus)
- brms = Bayesian Regression Models using Stan
Add an extra R:
- stringr provides string tools.
- beepr plays notification sounds.
- callr calls R, from R.
Don’t get sued.
- If you’re creating a package that talks to a commercial service, check the branding guidelines. For example, rDrop isn’t called rDropbox because Dropbox prohibits any applications from using the full trademarked name.
Nick Tierney presents a fun typology of package names in his Naming Things blog post; see that for more inspiring examples. He also has some experience with renaming packages, so the post So, you’ve decided to change your r package name is a good resource if you don’t get this right the first time.
5.1.2.3 Use the available package
It is impossible to abide by all of the above suggestions simultaneously, so obviously you will need to make some trade-offs. The available package has a function called available() that helps you evaluate a potential package name from many angles:
library(available)

available("doofus")
#> Urban Dictionary can contain potentially offensive results,
#>   should they be included? [Y]es / [N]o:
#> 1: 1
#> ── doofus ──────────────────────────────────────────────────────────────────
#> Name valid: ✔
#> Available on CRAN: ✔
#> Available on Bioconductor: ✔
#> Available on GitHub:  ✔
#> Abbreviations: http://www.abbreviations.com/doofus
#> Wikipedia: https://en.wikipedia.org/wiki/doofus
#> Wiktionary: https://en.wiktionary.org/wiki/doofus
#> Sentiment:???
available::available() does the following:
- Checks for validity.
- Checks availability on CRAN, Bioconductor, and beyond.
- Searches various websites to help you discover any unintended meanings. In an interactive session, the URLs you see above are opened in browser tabs.
- Attempts to report whether name has positive or negative sentiment.
5.1.3 Package creation
Once you’ve come up with a name, there are two ways to create the package.
- Call
usethis::create_package(). - In RStudio, do File > New Project > New Directory > R Package. This
ultimately calls
usethis::create_package(), so really there’s just one way.
TODO: revisit when I tackle usethis + RStudio project templates https://github.com/r-lib/usethis/issues/770. In particular, contemplate whether to reinstate any screenshot-y coverage of RStudio workflows here.
This produces the smallest possible working package, with three components:
An
R/directory, which you’ll learn about in R code.A basic
DESCRIPTIONfile, which you’ll learn about in package metadata.A basic
NAMESPACEfile, which you’ll learn about in the namespace.
It may also include an RStudio project file, pkgname.Rproj, that makes your package easy to use with RStudio, as described below. Basic .Rbuildignore and .gitignore files are also left behind.
Don’t use package.skeleton() to create a package. Because this function comes with R, you might be tempted to use it, but it creates a package that immediately throws errors with R CMD build. It anticipates a different development process than we use here, so repairing this broken initial state just makes unnecessary work for people who use devtools (and, especially, roxygen2). Use create_package().
5.1.4 Where should you create_package()?
The main and only required argument to create_package() is the path where your new package will live:
create_package("path/to/package/pkgname")Remember that this is where your package lives in its source form (section 4.2), not in its installed form (section 4.5). Installed packages live in a library and we discussed conventional setups for libraries in section 4.7.
Where should you keep source packages? The main principle is that this location should be distinct from where installed packages live. In the absence of external considerations, a typical user should designate a directory inside their home directory for R (source) packages. We discussed this with colleagues and the source of some of your favorite R packages lives inside directories like ~/rrr/, ~/documents/tidyverse/, ~/r/packages/, or ~/pkg/. Some of us use one directory for this, others divide source packages among a few directories based on their development role (contributor vs. not), GitHub organization (tidyverse vs r-lib), development stage (active vs. not), and so on.
The above probably reflects that we are primarily tool-builders. An academic researcher might organize their files around individual publications, whereas a data scientist might organize around data products and reports. There is no particular technical or traditional reason for one specific approach. As long as you keep a clear distinction between source and installed packages, just pick a strategy that works within your overall system for file organization, and use it consistently.
5.2 RStudio Projects
devtools works hand-in-hand with RStudio, which we believe is the best development environment for most R users. To be clear, you can use devtools without using RStudio and you can develop packages in RStudio without using devtools. But there is a special, two-way relationship that makes it very rewarding to use devtools and RStudio together.
An RStudio Project, with a capital “P”, is a regular directory on your computer that includes some (mostly hidden) RStudio infrastructure to facilitate your work on one or more projects, with a lowercase “p”. A project might be an R package, a data analysis, a Shiny app, a book, a blog, etc.
5.2.1 Benefits of RStudio Projects
From section 4.2, you already know that a source package lives in a directory on your computer. We strongly recommend that each source package is also an RStudio Project. Here are some of the payoffs:
Projects are very “launch-able”. It’s easy to fire up a fresh instance of RStudio in a Project, with the file browser and working directory set exactly the way you need, ready for work.
Each Project is isolated; code run in one Project does not affect any other Project.
- You can have several RStudio Projects open at once and code executed in Project A does not have any effect on the R session and workspace of Project B.
You get handy code navigation tools like
F2to jump to a function definition andCtrl + .to look up functions or files by name.You get useful keyboard shortcuts and a clickable interface for common package development tasks, like generating documentation, running tests, or checking the entire package.

To see the most useful keyboard shortcuts, press Alt + Shift + K or use Help > Keyboard Shortcuts Help.
Follow @rstudiotips on Twitter for a regular dose of RStudio tips and tricks.
5.2.2 How to get an RStudio Project
If you follow our recommendation to create new packages with create_package(), this takes care of itself. Each new package will also be an RStudio Project, if you’re working from RStudio.
There are various ways to designate the directory of a pre-existing source package as an RStudio Project:
- In RStudio, do File > New Project > Existing Directory.
- Call
create_package()with the path to the pre-existing R source package. - Call
usethis::use_rstudio(), with the active usethis project set to an existing R package. In practice, this probably means you just need to make sure working directory is inside the pre-existing package.
5.2.3 What makes an RStudio Project?
A directory that is an RStudio Project will contain an .Rproj file. Typically, if the directory is named “foo”, the Project file is foo.Rproj. And if that directory is also an R package, then the package name is usually also “foo”. The path of least resistance is to make all of these names coincide and to NOT nest your package inside a subdirectory inside the Project. If you settle on a different workflow, just know it may feel like you are fighting with the tools.
An .Rproj file is just a text file. Here’s the default project file used by usethis:
Version: 1.0
RestoreWorkspace: No
SaveWorkspace: No
AlwaysSaveHistory: Default
EnableCodeIndexing: Yes
Encoding: UTF-8
AutoAppendNewline: Yes
StripTrailingWhitespace: Yes
BuildType: Package
PackageUseDevtools: Yes
PackageInstallArgs: --no-multiarch --with-keep.source
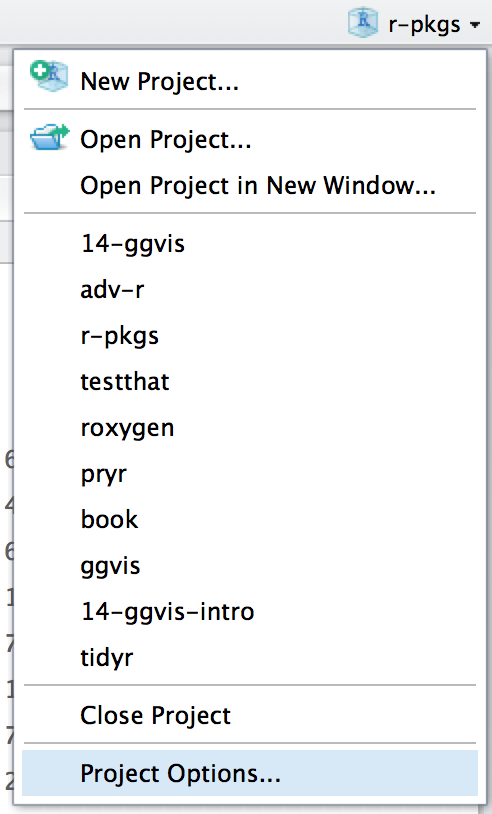
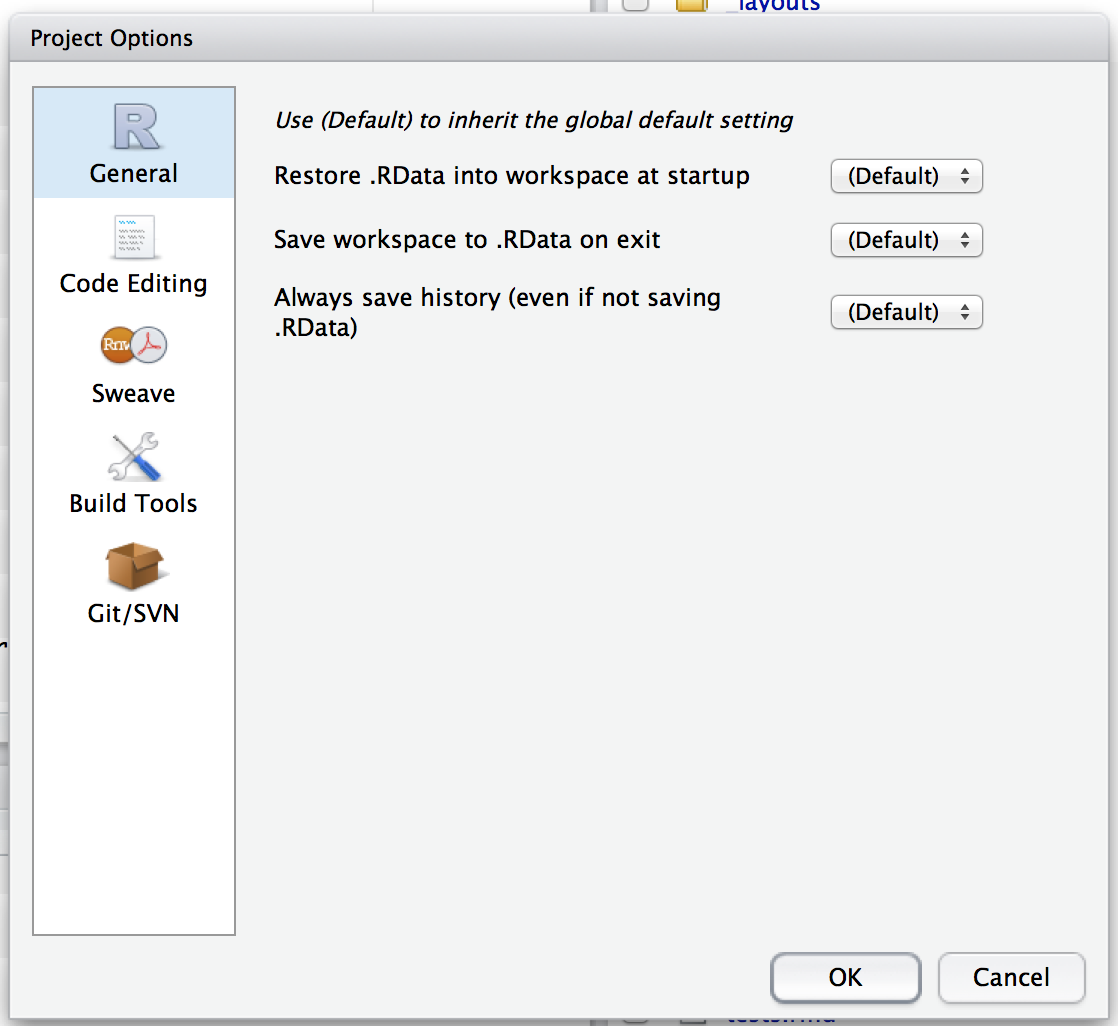
PackageRoxygenize: rd,collate,namespaceYou don’t need to modify this file by hand. Instead, use the interface available via Tools > Project Options or Project Options in the Projects menu in the top-right corner.
TODO: update these and deal with layout.
5.2.4 How to launch an RStudio Project
Double-click the foo.Rproj file in macOS’s Finder or Windows Explorer to launch the foo Project in RStudio.
You can also launch Projects from within RStudio via File > Open Project (in New Session) or the Projects menu in the top-right corner.
If you use a productivity or launcher app, you can probably configure it to do something delightful for .Rproj files. We both use Alfred for this,4 which is macOS only, but similar tools exist for Windows. In fact, this is a very good reason to use a productivity app in the first place.
It is very normal – and productive! – to have multiple Projects open at once.
5.2.5 RStudio Project vs. active usethis project
You will notice that most usethis functions don’t take a path: they operate on the files in the “active usethis project”. The usethis package assumes that 95% of the time all of these coincide:
- The current RStudio Project, if using RStudio.
- The active usethis project.
- Current working directory for the R process.
If things seem funky, call proj_sitrep() to get a “situation report”. This will identify peculiar situations and propose ways to get back to a happier state.
# these should usually be the same (or unset)
proj_sitrep()
#> *   working_directory: '/Users/jenny/rrr/readxl'
#> * active_usethis_proj: '/Users/jenny/rrr/readxl'
#> * active_rstudio_proj: '/Users/jenny/rrr/readxl'
5.3 Working directory and filepath discipline
As you develop your package, you will be executing R code. This will be a mix of workflow calls (e.g., document() or test()) and ad hoc calls that help you write your functions, examples, and tests. We strongly recommend that you leave the working directory of your R process set to the top-level of the source package.
If you’re totally new to package development, you don’t have much basis for supporting or resisting this proposal. But those with some experience may find it somewhat upsetting. How are we supposed to express paths when working in subdirectories, like tests/? As it becomes relevant, we’ll show you how to exploit path-building helpers, such as testthat::test_path(), that determine paths at execution time.
The basic idea is that by leaving working directory alone, you are encouraged to write paths that convey intent explicitly (“read foo.csv from the test directory”) instead of implicitly (“read foo.csv from current working directory, which I think is going to be the test directory”). A sure sign of reliance on implicit paths is incessant fiddling with your working directory, because you’re using setwd() to manually fulfill the assumptions that are implicit in your paths.
This mentality can design away a whole class of path headaches and makes day-to-day development more pleasant as well. There are two reasons why implicit paths are hard to get right:
- Recall the different forms that a package can take during the development cycle (Chapter 4). These states differ from each other in terms of which files and folders exist and their relative positions within the hierarchy. It’s tricky to write relative paths that work across all package states.
- Eventually, your package will be processed with built-in tools like
R CMD build,R CMD check, andR CMD INSTALL, by you and potentially CRAN. It’s hard to keep track of what the working directory will be at every stage of these processes.
Path helpers like testthat::test_path(), fs::path_package(), and the rprojroot package are extremely useful for building resilient paths that hold up across the whole range of situations that come up during development and usage. Another way to eliminate brittle paths is to be rigorous in your use of proper methods for storing data inside your package (Chapter 12) and to target the session temp directory when appropriate, such as for ephemeral testing artefacts (Chapter 10).
5.4 Test drive with load_all()
The load_all() function is arguably the most important part of the devtools workflow.
# with devtools attached and
# working directory set to top-level of your source package ...

load_all()

# ... now experiment with the functions in your package
load_all() is the key step in this “lather, rinse, repeat” cycle of package development:
- Tweak a function definition.
load_all()- Try out the change by running a small example or some tests.
When you’re new to package development or to devtools, it’s easy to overlook the importance of load_all() and fall into some awkward habits from a data analysis workflow.
5.4.1 Benefits of load_all()
When you first start to use a development environment, like RStudio or Emacs + ESS, the biggest win is the ability to send lines of code from an .R script for execution in R console. The fluidity of this is what makes it tolerable to follow the best practice of regarding your source code as real5 (as opposed to objects in the workspace) and saving .R files (as opposed to saving and reloading .Rdata).
load_all() has the same significance for package development and, ironically, requires that you NOT test drive package code in the same way as script code. load_all() simulates the fullblown process for seeing the effect of a source code change, which is clunky enough6 that you won’t want to do it very often. The main benefits of load_all():
- You can iterate quickly, which encourages exploration and incremental
progress.
- This iterative speedup is especially noticeable for packages with compiled code.
- You get to develop interactively under a namespace regime that accurately
mimics how things are when someone uses your installed package:
- You can call your own internal functions directly, without using
:::and without being tempted to temporarily define your functions in the global workspace. - You can also call functions from other packages that you’ve imported into
your
NAMESPACE, without being tempted to attach these dependencies vialibrary().
- You can call your own internal functions directly, without using
load_all() removes friction from the development workflow and eliminates the temptation to use workarounds that often lead to mistakes around namespace and dependency management.
5.4.2 Other ways to call load_all()
When working in a Project that is a package, RStudio offers several ways to call load_all():
- Keyboard shortcut: Cmd+Shift+L (macOS), Ctrl+Shift+L (Windows, Linux)
- Build pane’s More … menu
- Build > Load All
devtools::load_all() is a thin wrapper around pkgload::load_all() that adds a bit of user-friendliness. It is unlikely you will use load_all() programatically or inside another package, but if you do, you should probably use pkgload::load_all() directly.
TODO: Decide how to update this diagram and then reposition and re-integrate it with the prose. For example, figure out how to frame w.r.t. RStudio Install and Restart vs. Clean and Rebuild.

References
Silge, Julia, John C. Nash, and Spencer Graves. 2018. “Navigating the R Package Universe.” The R Journal 10 (2): 558–63. https://doi.org/10.32614/RJ-2018-058.
Specifically, we configure Alfred to favor
.Rprojfiles in its search results when proposing apps or files to open. To register the.Rprojfile type with Alfred, go to Preferences > Features > Default Results > Advanced. Drag any.Rprojfile onto this space and then close.↩︎Quoting the usage philosophy favored by Emacs Speaks Statistics (ESS).↩︎
The command line approach is to quit R, go to the shell, do
R CMD build fooin the package’s parent directory, thenR CMD INSTALL foo_x.y.x.tar.gz, restart R, and calllibrary(foo). From R, an approximation is todetach("package:foo", unload = TRUE); install.packages(".", repos = NULL, type = "source"); library(foo).↩︎