1.2 A quick example
From our experience, Hugo’s documentation may be a little daunting to read and digest for beginners.3 For example, its “Quickstart” guide used to have 12 steps, and you can easily get lost if you have not used a static website generator before. For blogdown, we hope users of all levels can at least get started as quickly as possible. There are many things you may want to tweak for the website later, but the first step is actually fairly simple: create a new project under a new directory in the RStudio IDE (File -> New Project), and call the function in the R console of the new project:
blogdown::new_site()Then wait for this function to create a new site, download the default theme, add some sample posts, open them, build the site, and launch it in the RStudio Viewer, so you can immediately preview it. If you do not use the RStudio IDE, you need to make sure you are currently in an empty directory,4 in which case new_site() will do the same thing, but the website will be launched in your web browser instead of the RStudio Viewer.
Now you should see a bunch of directories and files under the RStudio project or your current working directory. Before we explain these new directories and files, let’s introduce an important and helpful technology first: LiveReload. This means your website5 will be automatically rebuilt and reloaded in your web browser6 when you modify any source file of your website and save it. Basically, once you launch the website in a web browser, you do not need to rebuild it explicitly anymore. All you need to do is edit the source files, such as R Markdown documents, and save them. There is no need to click any buttons or run any commands. LiveReload is implemented via blogdown::serve_site(), which is based on the R package servr (Xie 2020c) by default.7
The new_site() function has several arguments, and you may check out its R help page (?blogdown::new_site) for details. A minimal default theme named “hugo-lithium” is provided as the default theme of the new site,8 and you can see what it looks like in Figure 1.1.
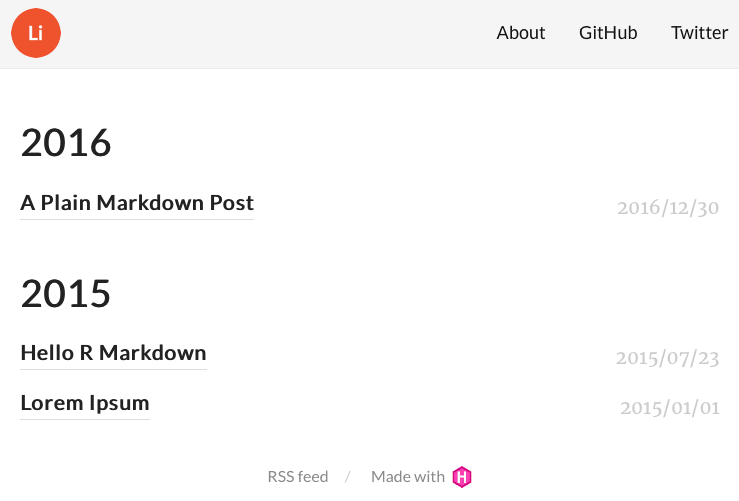
FIGURE 1.1: The homepage of the default new site.
You have to know three most basic concepts for a Hugo-based website:
The configuration file
config.toml, in which you can specify some global settings for your site. Even if you do not know what TOML is at this point (it will be introduced in Chapter 2), you may still be able to change some obvious settings. For example, you may see configurations like these inconfig.toml:baseurl = "/" languageCode = "en-us" title = "A Hugo website" theme = "hugo-lithium" [[menu.main]] name = "About" url = "/about/" [[menu.main]] name = "GitHub" url = "https://github.com/rstudio/blogdown" [[menu.main]] name = "Twitter" url = "https://twitter.com/rstudio"You can change the website title, e.g.,
title = "My own cool website", and update the GitHub and Twitter URLs.The content directory (by default,
content/). This is where you write the R Markdown or Markdown source files for your posts and pages. Undercontent/of the default site, you can seeabout.mdand apost/directory containing a few posts. The organization of the content directory is up to you. You can have arbitrary files and directories there, depending on the website structure you want.The publishing directory (by default,
public/). Your website will be generated to this directory, meaning that you do not need to manually add any files to this directory.9 Typically it contains a lot of*.htmlfiles and dependencies like*.css,*.js, and images. You can upload everything underpublic/to any web server that can serve static websites, and your website will be up and running. There are many options for publishing static websites, and we will talk more about them in Chapter 3 if you are not familiar with deploying websites.
If you are satisfied with this default theme, you are basically ready to start writing and publishing your new website! We will show how to use other themes in Section 1.6. However, please keep in mind that a more complicated and fancier theme may require you to learn more about all the underlying technologies like the Hugo templating language, HTML, CSS, and JavaScript.
References
Xie, Yihui. 2020c. Servr: A Simple Http Server to Serve Static Files or Dynamic Documents. https://github.com/yihui/servr.
One day I was almost ready to kill myself when I was trying to figure out how
_index.mdworks by reading the documentation over and over again, and desperately searching on the Hugo forum.↩︎Check the output of
list.files('.')in R, and make sure it does not include files other thanLICENSE, the RStudio project file (*.Rproj),READMEorREADME.md.↩︎Until you set up your website to be deployed, LiveReload only updates the local version of your website. This version is only visible to you. In order to make your website searchable, discoverable, and live on the internet you will need to upload your website’s files to a site builder. See Chapter 3 for details.↩︎
You can also think of the RStudio Viewer as a web browser.↩︎
Hugo has its own LiveReload implementation. If you want to take advantage of it, you may set the global option
options(blogdown.generator.server = TRUE). See Section D.2 for more information.↩︎You can find its source on GitHub: https://github.com/yihui/hugo-lithium. This theme was forked from https://github.com/jrutheiser/hugo-lithium-theme and modified to work better with blogdown.↩︎
By running either
serve_site()orbuild_site(), files will be generated and published in your publishing directory automatically.↩︎