14.1 Get started
To create a learnr tutorial, first install the learnr package with:
install.packages("learnr")Then you can select the “Interactive Tutorial” template from the “New R Markdown” dialog in the RStudio IDE (see Figure 14.1).
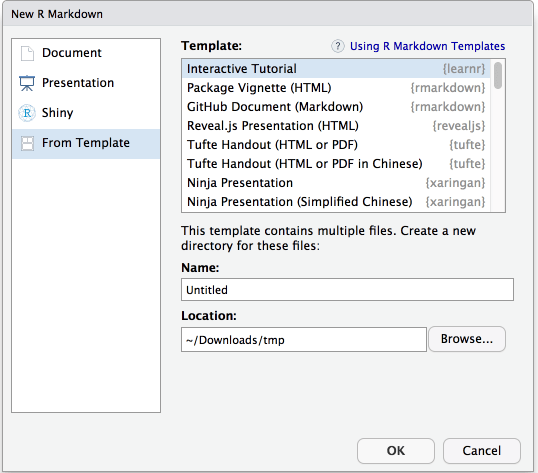
FIGURE 14.1: Create an interactive tutorial in RStudio.
If you do not use RStudio, it is also easy to create a tutorial: add runtime: shiny_prerendered and the output format learnr::tutorial to the YAML metadata, use library(learnr) within your Rmd file to activate the tutorial mode, and then add the chunk option exercise = TRUE to turn code chunks into exercises. Your tutorial users can edit and execute the R code and see the results right within their web browser.
Below is a minimal tutorial example:
---
title: "Hello, Tutorial!"
output: learnr::tutorial
runtime: shiny_prerendered
---

```{r setup, include=FALSE}
library(learnr)
```

This code computes the answer to one plus one, change it
so it computes two plus two:

```{r addition, exercise=TRUE}
1 + 1
```
To run this tutorial, you may hit the button “Run Document” in RStudio, or call the function rmarkdown::run() on this Rmd file. Figure 14.2 shows what the tutorial looks like in the browser. Users can do the exercise by editing the code and running it live in the browser.
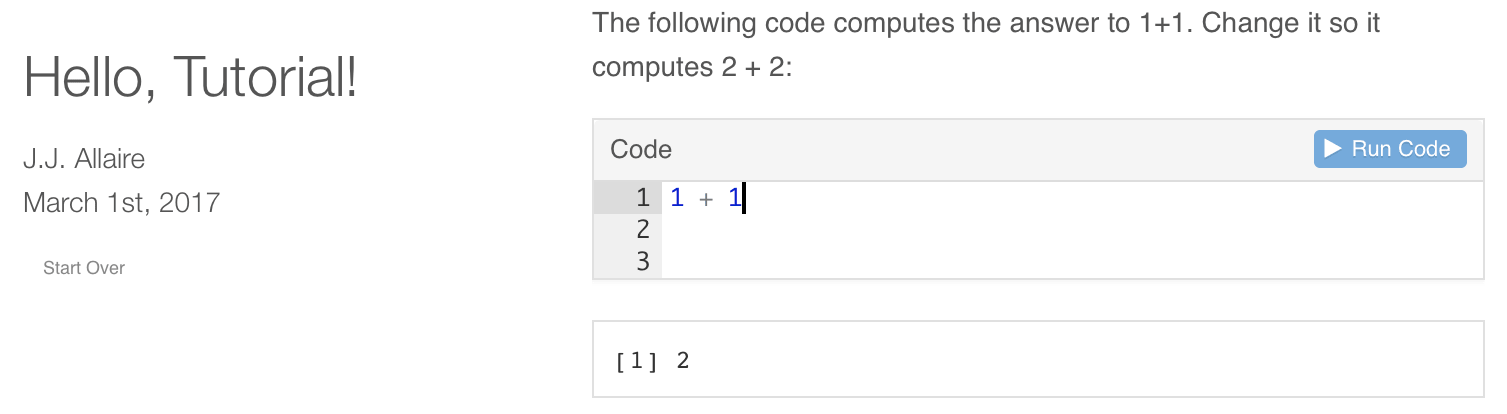
FIGURE 14.2: A simple example tutorial.
We strongly recommend that you assign unique chunk labels to exercises (e.g., the above example used the label addition), because chunk labels will be used as identifiers for learnr to save and restore user work. Without these identifiers, users could possibly lose their work in progress the next time when they pick up the tutorial.